Word 2010 - Part 5 Background Removal
Photoshop comes to Word
A new feature in Word 14 is Background Removal. To access it and its functions open the Insert Tab and either insert an image Insert>Picture or Insert>Screenshot and follow one of the options covered in Part 4.
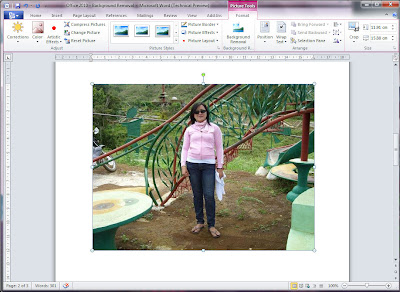
This time I will use an image from file. When the image opens it will automatically load the Picture Tools Format Tab, select Background Removal.

The Background Removal tool will follow the main lines in the image and try to determine which the likely areas to remove or keep are. In this case it came close but not close enough.
The three options in Background Removal are:
- Mark to Include
- Mark to Remove
- Delete Marks
Selecting 'Mark to Include' I've clicked and dragged four diagonal lines, one on each corner, to show I want to keep some of those areas. Then I tell it the areas to exclude with 'Marks to Remove'. You have to play around with it, adding some areas and removing others, until you're happy with the result.
Hit Return when you're happy with the result


0 comments:
Post a Comment